Search This Blog

Translate

Showing posts with label Stitch tutorial. Show all posts

Monday, February 28, 2011

Stitch Tutorial---Shisha Mirror Stitch-Version 1---Continued


Step 3: Now we will start working the shisha stitch. This version is similar to a buttonhole stitch but with a little variation.
(a) Bring up the needle at a point on the circle (marked as point A in the image) you have drawn around the shisha mirror.

(b) Pull the thread through point A and then insert the needle at point B.

(c) Bring down the needle and thread (not the entire thread, only up to 5 cm) at point B. Come up again at point C close to the shisha mirror. Do not pull the entire thread at C (only up to 5 cm as before).

(d) Now pass the needle under the base stiches as shown in the image below.
(e) Pull the needle and thread. You will now get a stitch similar to a buttonhole stitch. This is your first shisha stitch.

(f) To work up the next stitch, bring the needle down at a point next to B (this is marked as point D in the image below).
(g) Now bring the needle up at point E close to the mirror.
(h) Pass the needle under the foundation stitches and pull the needle and thread. Your second shisha stitch is done. Continue this until you cover up the entire circle.

 
Step 4: If you are running short of thread in between, follow the steps below.
(a) Pass the needle under the foundation stitch and toward you.
(b) Insert the needle under the last stitch by slightly pushing the stitches to the left. Secure the thread on the wrong side with a knot, or work two or three running stitches in the space that is to be covered by the stitches. The running stitches will be secured when you sew the remaining shisha stitches.

(c) Bring up the needle with the new thread at a point close to the shisha mirror and in between the last two stitches. Pull the thread and repeat steps 3(f) to 3(g).
Your shisha stitch is done:
The back side of the work will look like this.


Step 5: You can spice up your work by working decorative stitches, beads, sequins, or anything you like around your shisha stitch. I worked chain stitch around.


You can work the stitches either as closed buttonhole stitches or open buttonhole stitches. 

I hope you liked this tutorial. Please let me know if you have any queries or comments.

Sunday, February 27, 2011

Stitch Tutorial---Shisha Mirror Stitch-Version 1


Today I would like to share with you the shisha stitch tutorial. Shisha Mirrors are available in various shapes and sizes.

There are many versions of shisha stitch. Here I show you how to sew shisha stitch version 1.


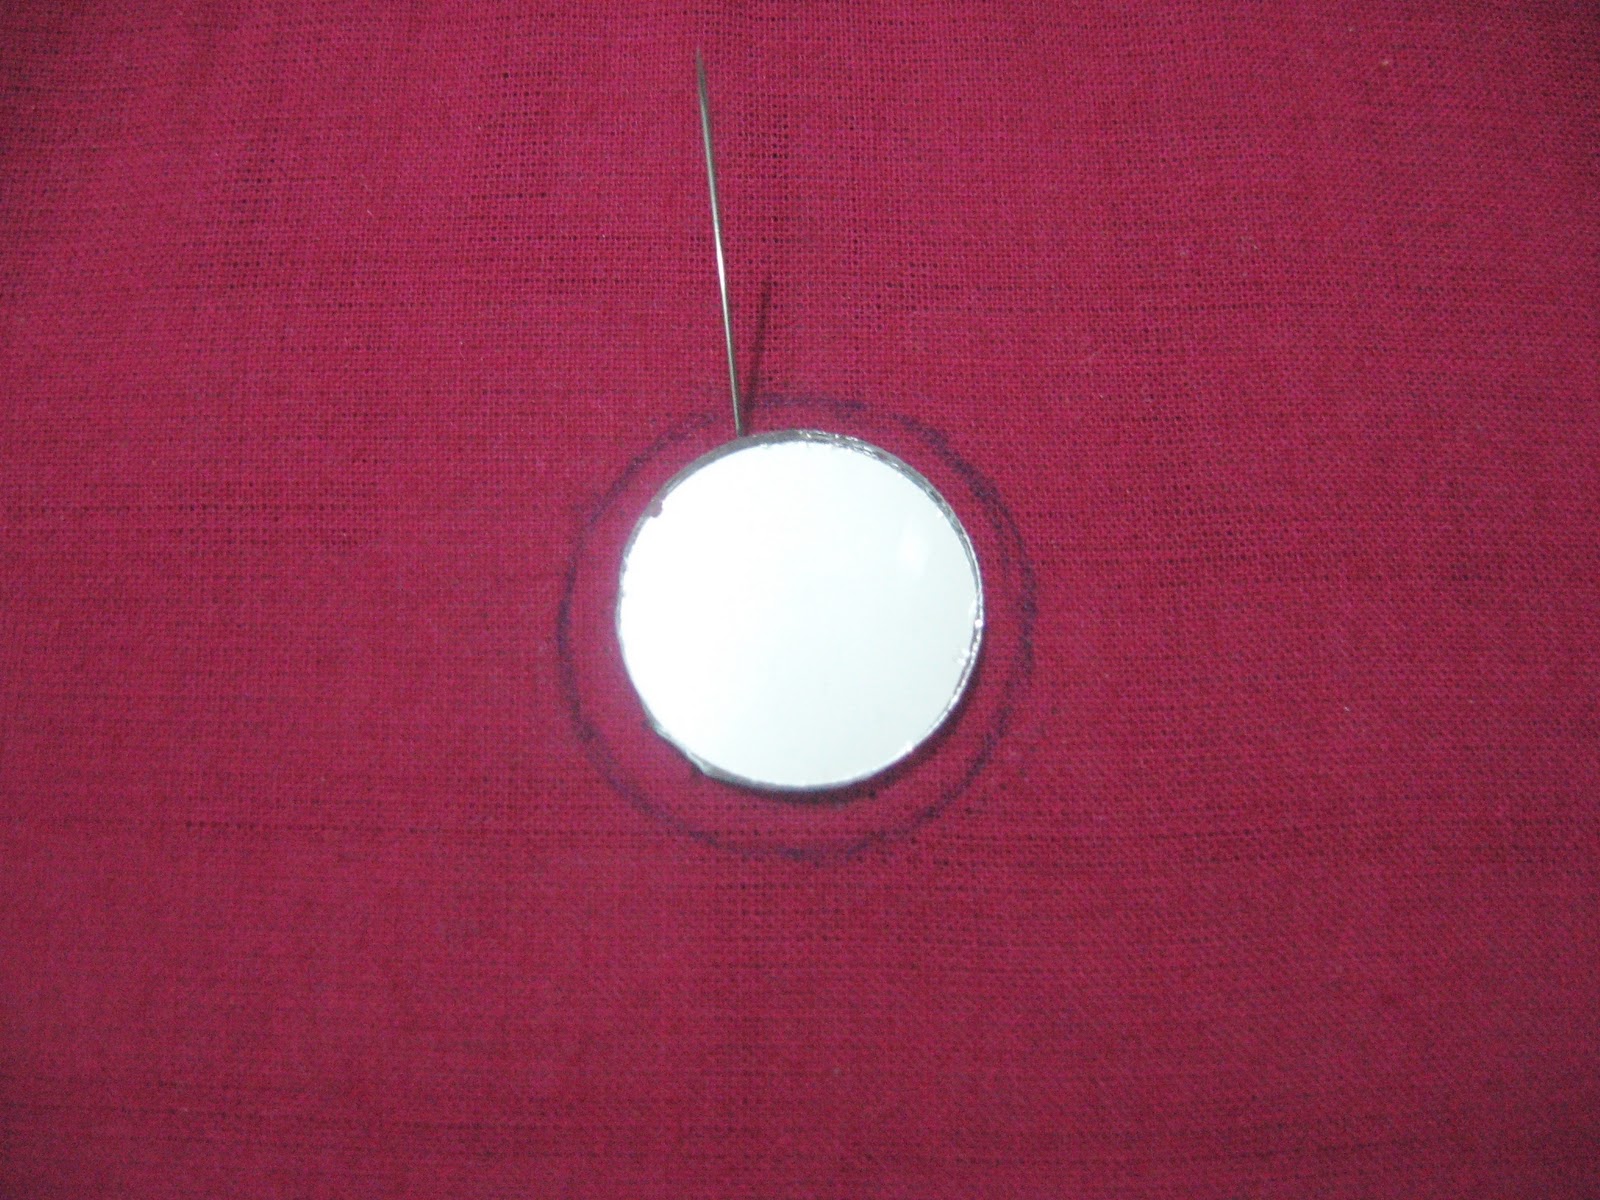
Step 1: Spread some fabric glue on the back of the shisha mirror and stick the mirror on the fabric. Allow it to dry. If you do this step, your shisha mirror won't slip away when you sew the stitches.


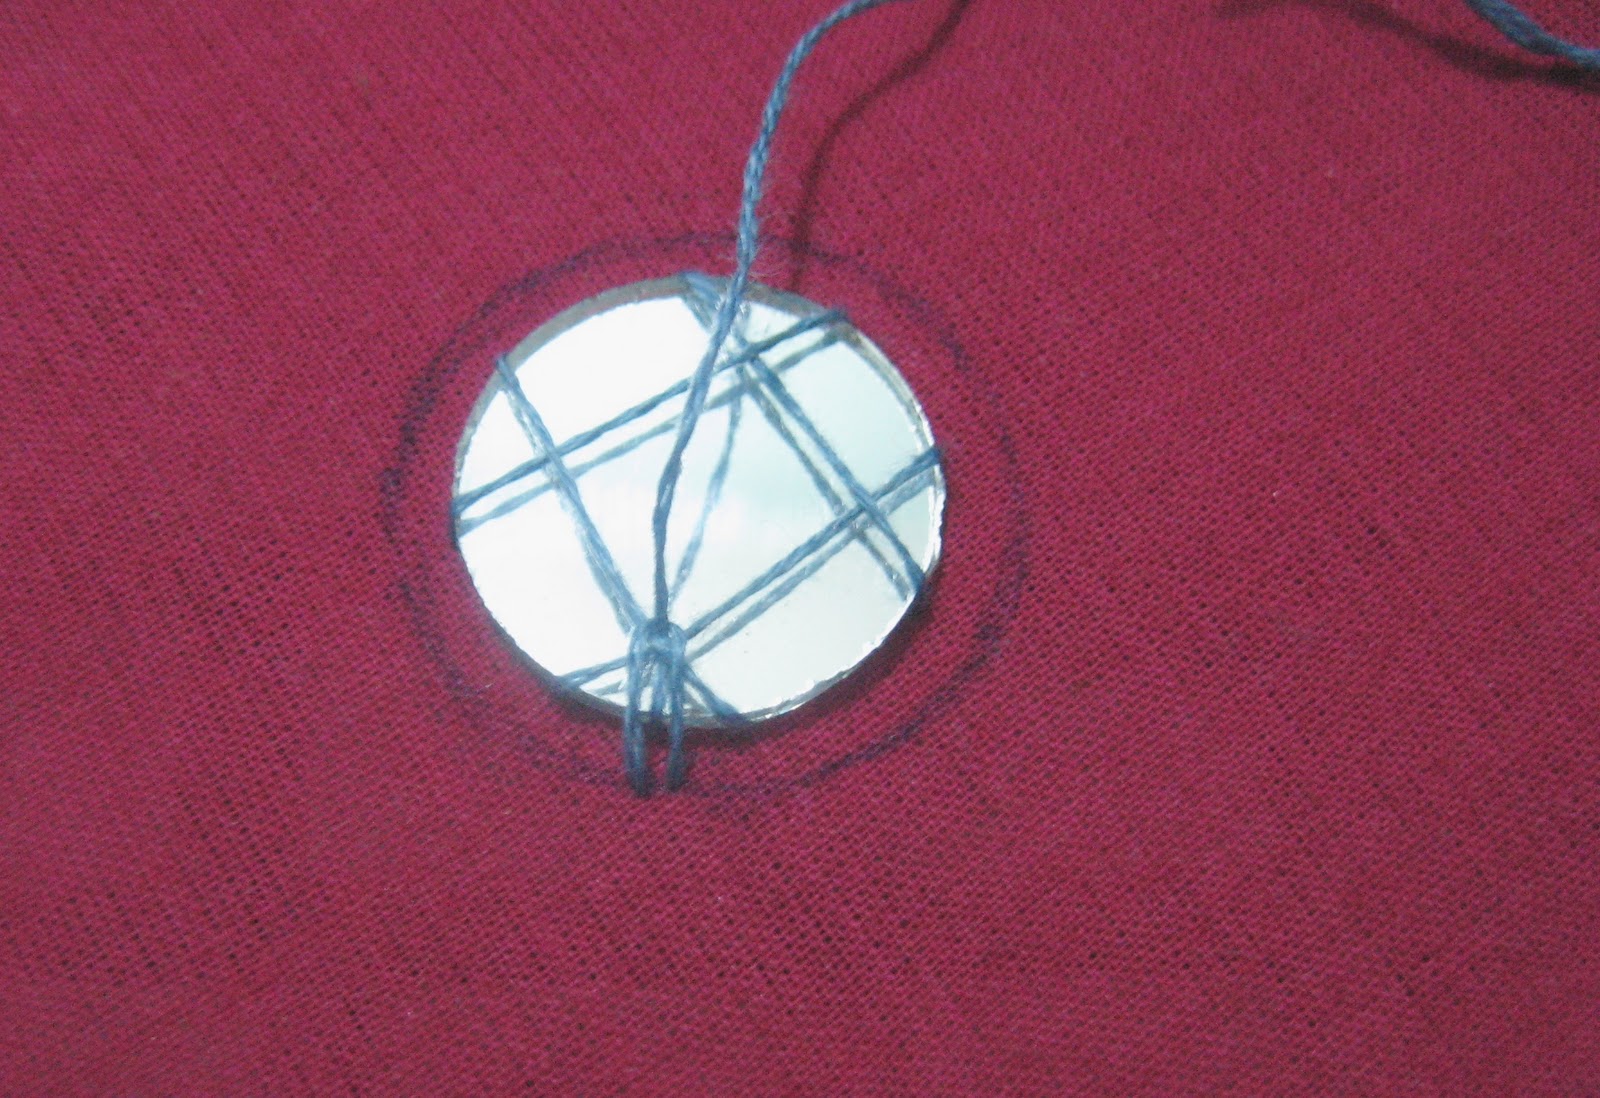
 Step 2: Now you need to do the foundation stitches. Before starting this step, draw a circle with a pen or pencil around the shisha mirror. This will serve as a guideline for sewing the shisha stitch. 

Follow the images below to sew the foundation stitches.


I will show you how to sew the shisha stitch tomorrow.

Monday, July 27, 2009

Autumn Rose Project--Long and short stitch--Step 3


We can add one more shade to this flower petal--- a dark pink.

Stitch the same way as you did for the second row. However the stitches need not be close to each other since we are just going to add depth to the shading of the petal.


The long and short stitch petal is done with three shades of color.

Autumn Rose Project--Long and short stitch--Step 3

This is the important step in the long and short stitch. We are going to fill up the second row using one strand of thread. In the basic long and short embroidery, the second row of stitches start at the points where the first row stitches end. However to get a smooth blending effect, we should bring up the needle through the first row of stitches by spliting up the thread of the first row of stitches, not at the endpoints of the stitches in the previous row. Look at the image below:


Because the petal is small, I decided to limit the long and short stitch to only two rows. Since the second row is also the last row, the stitches should be directed toward and end at the inner edge of the petal.


Continue to place the stitches close to each other as you did for first row.


Autumn Rose Project--Long and short stitch--Step 2

Let us start with the first row of stitches. Use 2 strands of pale pink thread.

First, we will stitch a long stitch then a short one. To stitch the long stitch, bring up the needle at a point on the petal's outer edge and bring it down at a point on the edge of the first row partion guideline as shown in the images below. You can enlarge the images to get a close-up view of the stitches.


Now our first long stitch is over.


Now let us do the short stitch. Bring up your needle at a point very close to where you started the long stitch. The long and short shading will look better if the stitches are as close as possible. Refer to the image below.


Now end the stitch a little shorter than the previous one while following the guidelines for direction.


Usually the length of the short stitch should be three-fourth of the long stitch. Continue in the same manner to complete the first row. The finished first row will look like this:


Autumn Rose Project--Long and short stitch--Step 1

After three months of hectic days I am back again to continue with my autumn rose project. Let us learn the long and short stitch.

Long and short stitch is used to fill up a large area like flower petals, where we cannot use the satin stitch.

As we did for satin stitch, in step 1, we need to draw the guidelines to set up the direction for the stitches. Refer to the image below to know how to draw the guidelines. I have also drawn the partition guidelines for each row of stitches in the petal. We are going to stitch three rows of long and short stitch with three shades of colors---from light to dark pink.

Tuesday, April 7, 2009

Step 4 --- Filling leaves with satin stitch

Hi everyone,

I am back after a long gap. Let us continue with the autumn rose project.

The stitches to be used in this project are: satin stitch, long and short stitch, and stem stitch.

Now let us see how to fill a leaf with satin stitch. Satin stitch is a lovely stitch which gives a smooth, shiny, and glossy effect to a design. I am going to use Anchor thread no. 309 for this. You can find out the equivalent DMC threads through the conversion charts available on the following web sites.

http://yarntree.com/019dmccn.htm
http://www.findstitch.com/resources/conversion.cgi/from,anchor/to,dmc
http://www.jenny-wren-crafts.co.uk/dmc_to_anchor_conversion_chart.htm

When the pattern is ready with the guidelines, thread your needle with a single strand of thread. Mary Corbet discusses in her web site Needlenthread.com about using a single strand for satin stitch. She says that although this is time consuming, the end result will be perfect. Previously I was using two strands, now I have switched over to single strand.

Let's learn the satin stitch. You can start out to stitch from the lower corner or upper corner and progress toward the other end. However, lower to upper always looks better for me. Our stitches are going to start from the inner edge of the leaf and proceed toward the outer edge. Bring out the needle from down the cloth through a point at the lower corner of the inner edge.


Carefully follow the drawn guideline and insert your needle down into a point on the curvy outline of the leaf. Make sure your first stitch is short and the next stitch is bigger than that, and so on. However, as you proceed through the center of the leaf, the stitches will be more or less of the same size according to the design's outline. When you satin stitch a pattern the stitches should not deviate from the outline. If the stitches are out of place it will give a gawky look to your work. To get a smooth edge you can stitch the outline with split stitch or stem stitch or chain stitch. However, out of practice you will get smooth edges without using the abovementioned stitches as the base.


Now your first satin stitch is over.


Let's continue with our second satin stitch. Bring out the needle from a point on the inner edge of the leaf that is very next to the previous point from which we brought out the needle to make the first stitch.


Sew a stitch that is slightly bigger than the previous stitch. Ensure that you leave no gap between the two stitches.


Your second stitch is done now.


Similarly complete your third stitch.


Follow the same process throughout the design.


The backside of the satin stitch should be same like the frontside stitches.

Hope you enjoyed this satin stitch tutorial.
Kawaii Shop Modes4u.com