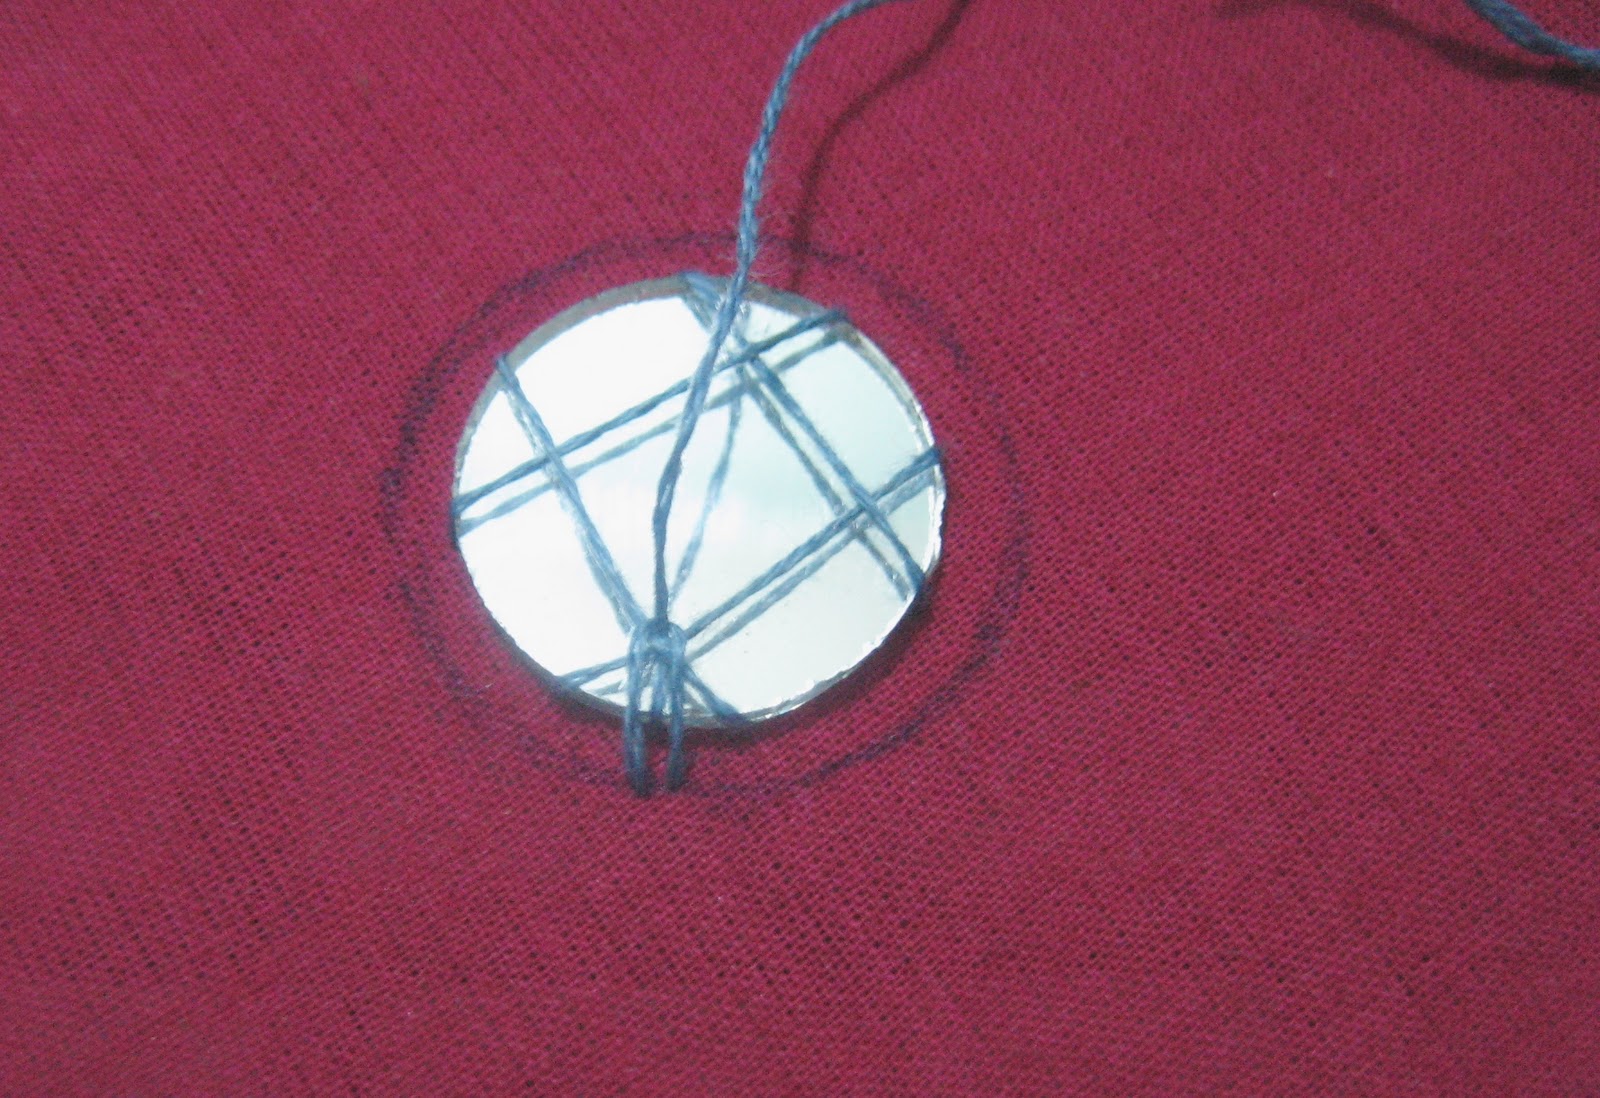
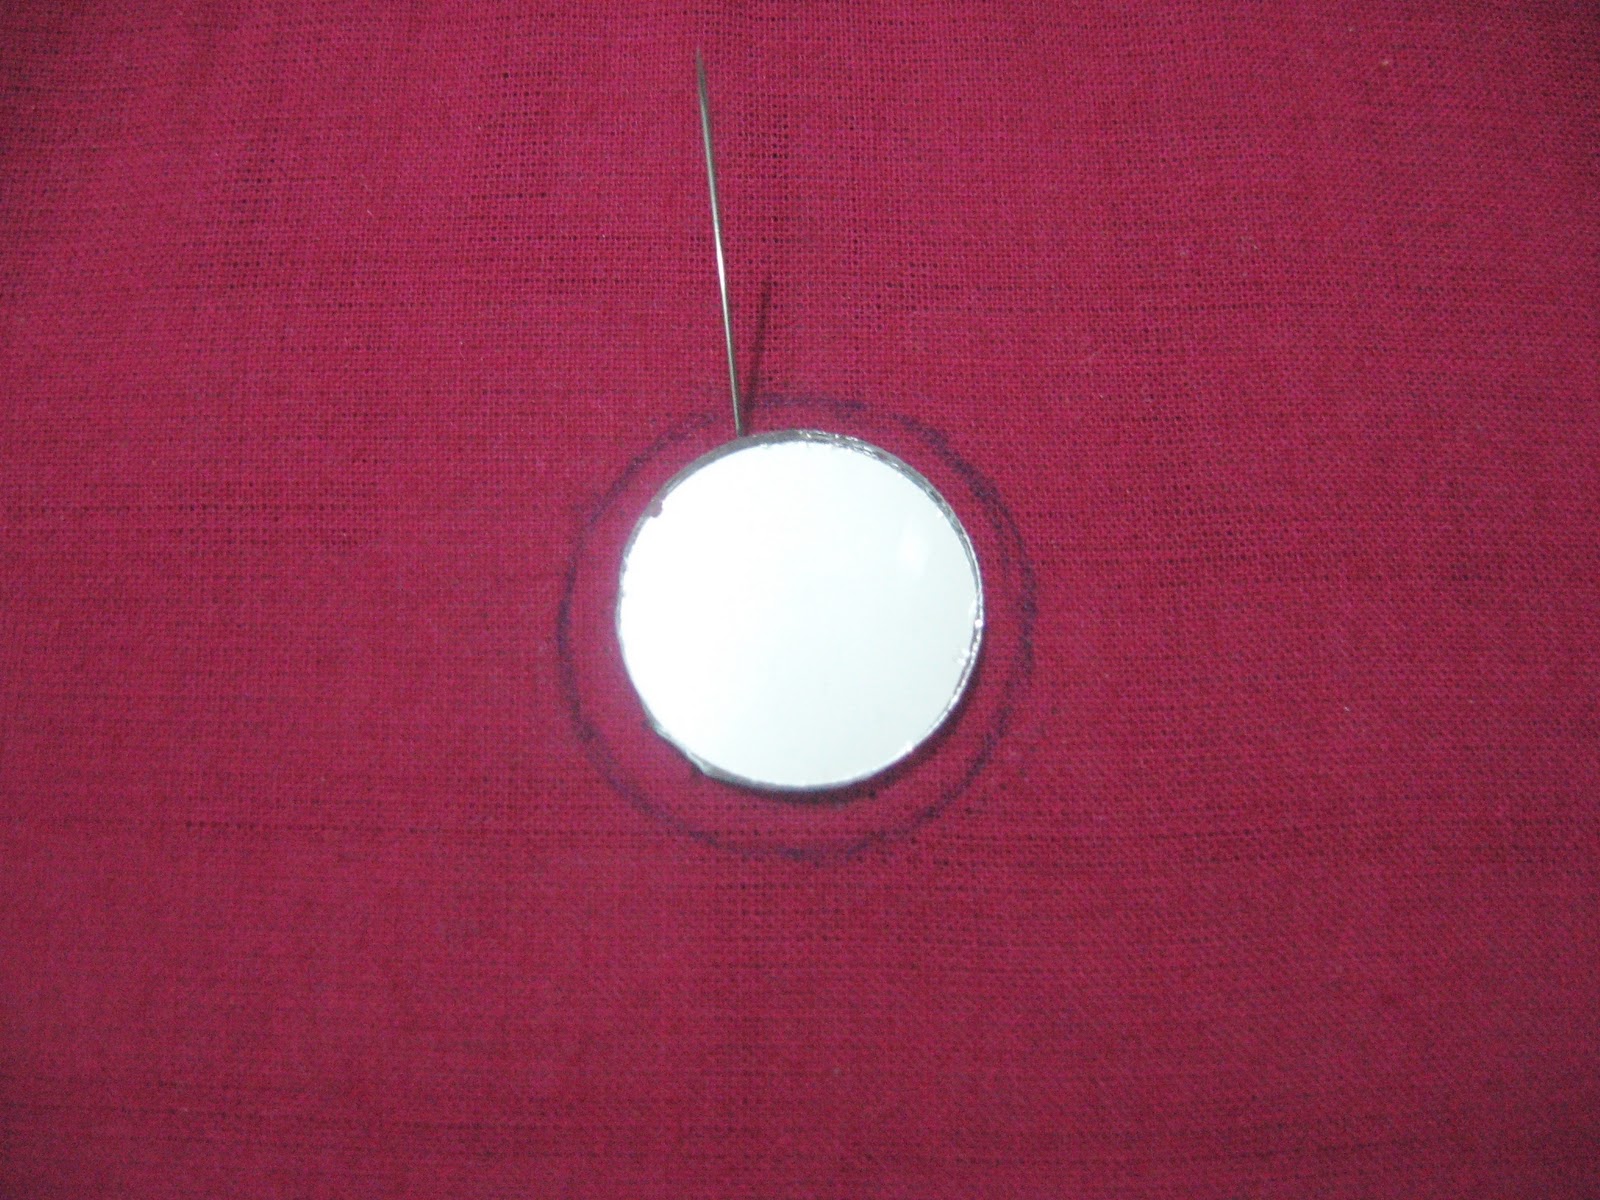
Step 3: Now we will start working the shisha stitch. This version is similar to a buttonhole stitch but with a little variation.
(a) Bring up the needle at a point on the circle (marked as point A in the image) you have drawn around the shisha mirror.
(b) Pull the thread through point A and then insert the needle at point B.
(c) Bring down the needle and thread (not the entire thread, only up to 5 cm) at point B. Come up again at point C close to the shisha mirror. Do not pull the entire thread at C (only up to 5 cm as before).
(d) Now pass the needle under the base stiches as shown in the image below.
(e) Pull the needle and thread. You will now get a stitch similar to a buttonhole stitch. This is your first shisha stitch.
(f) To work up the next stitch, bring the needle down at a point next to B (this is marked as point D in the image below).
(g) Now bring the needle up at point E close to the mirror.
(h) Pass the needle under the foundation stitches and pull the needle and thread. Your second shisha stitch is done. Continue this until you cover up the entire circle.
Step 4: If you are running short of thread in between, follow the steps below.
(a) Pass the needle under the foundation stitch and toward you.
(b) Insert the needle under the last stitch by slightly pushing the stitches to the left. Secure the thread on the wrong side with a knot, or work two or three running stitches in the space that is to be covered by the stitches. The running stitches will be secured when you sew the remaining shisha stitches.
(c) Bring up the needle with the new thread at a point close to the shisha mirror and in between the last two stitches. Pull the thread and repeat steps 3(f) to 3(g).
Your shisha stitch is done:
The back side of the work will look like this.
Step 5: You can spice up your work by working decorative stitches, beads, sequins, or anything you like around your shisha stitch. I worked chain stitch around.
You can work the stitches either as closed buttonhole stitches or open buttonhole stitches.
I hope you liked this tutorial. Please let me know if you have any queries or comments.