Search This Blog

Translate

Monday, February 28, 2011

Stitch Tutorial---Shisha Mirror Stitch-Version 1---Continued


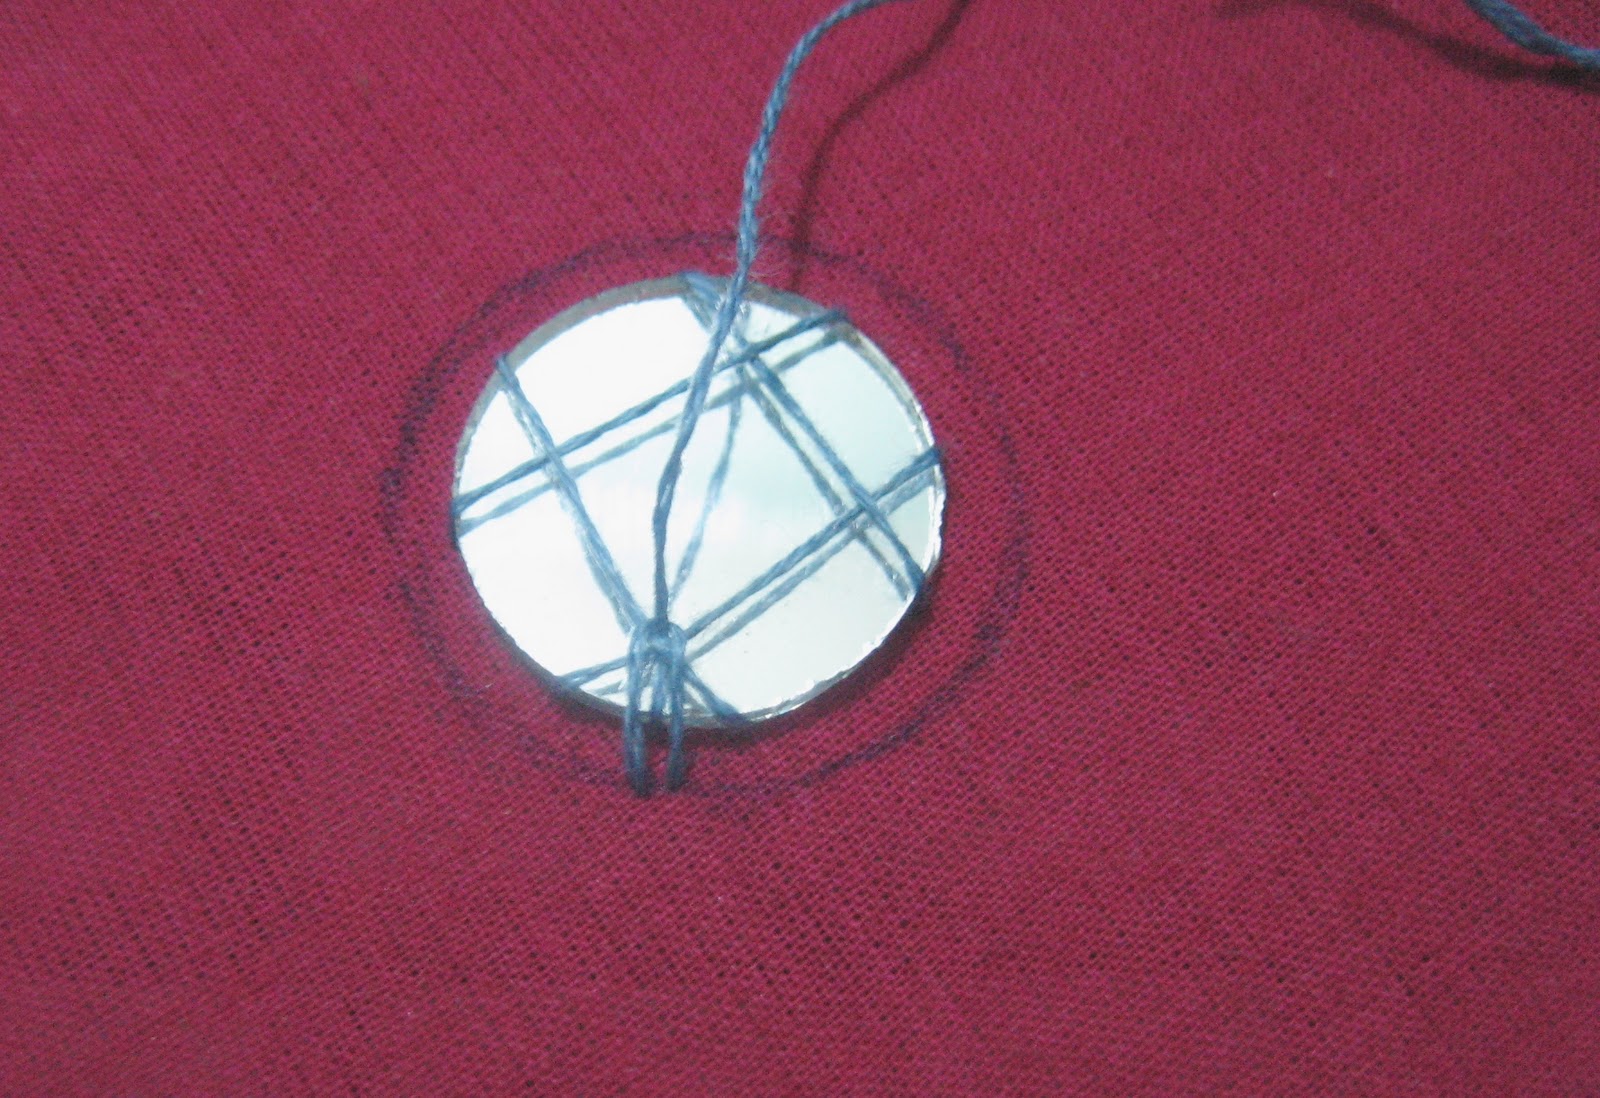
Step 3: Now we will start working the shisha stitch. This version is similar to a buttonhole stitch but with a little variation.
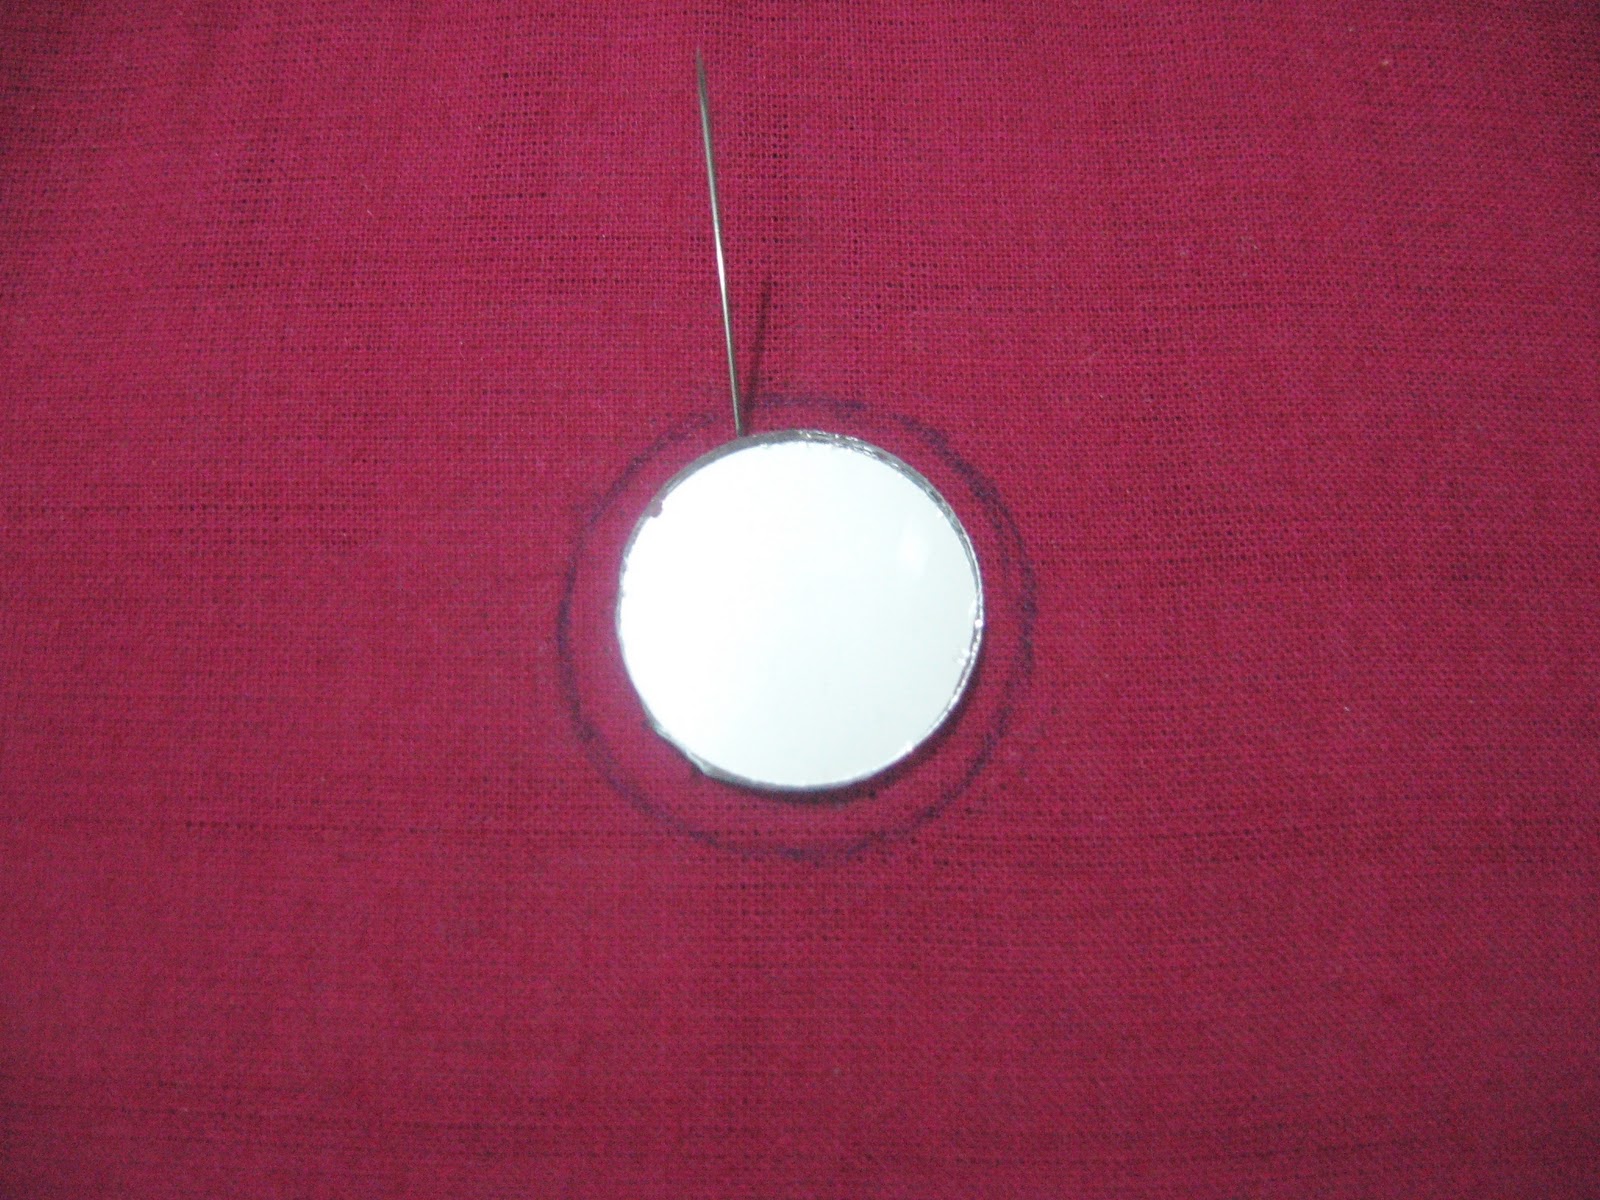
(a) Bring up the needle at a point on the circle (marked as point A in the image) you have drawn around the shisha mirror.

(b) Pull the thread through point A and then insert the needle at point B.

(c) Bring down the needle and thread (not the entire thread, only up to 5 cm) at point B. Come up again at point C close to the shisha mirror. Do not pull the entire thread at C (only up to 5 cm as before).

(d) Now pass the needle under the base stiches as shown in the image below.
(e) Pull the needle and thread. You will now get a stitch similar to a buttonhole stitch. This is your first shisha stitch.

(f) To work up the next stitch, bring the needle down at a point next to B (this is marked as point D in the image below).
(g) Now bring the needle up at point E close to the mirror.
(h) Pass the needle under the foundation stitches and pull the needle and thread. Your second shisha stitch is done. Continue this until you cover up the entire circle.

 
Step 4: If you are running short of thread in between, follow the steps below.
(a) Pass the needle under the foundation stitch and toward you.
(b) Insert the needle under the last stitch by slightly pushing the stitches to the left. Secure the thread on the wrong side with a knot, or work two or three running stitches in the space that is to be covered by the stitches. The running stitches will be secured when you sew the remaining shisha stitches.

(c) Bring up the needle with the new thread at a point close to the shisha mirror and in between the last two stitches. Pull the thread and repeat steps 3(f) to 3(g).
Your shisha stitch is done:
The back side of the work will look like this.


Step 5: You can spice up your work by working decorative stitches, beads, sequins, or anything you like around your shisha stitch. I worked chain stitch around.


You can work the stitches either as closed buttonhole stitches or open buttonhole stitches. 

I hope you liked this tutorial. Please let me know if you have any queries or comments.

Sunday, February 27, 2011

Stitch Tutorial---Shisha Mirror Stitch-Version 1


Today I would like to share with you the shisha stitch tutorial. Shisha Mirrors are available in various shapes and sizes.

There are many versions of shisha stitch. Here I show you how to sew shisha stitch version 1.


Step 1: Spread some fabric glue on the back of the shisha mirror and stick the mirror on the fabric. Allow it to dry. If you do this step, your shisha mirror won't slip away when you sew the stitches.


 Step 2: Now you need to do the foundation stitches. Before starting this step, draw a circle with a pen or pencil around the shisha mirror. This will serve as a guideline for sewing the shisha stitch. 

Follow the images below to sew the foundation stitches.


I will show you how to sew the shisha stitch tomorrow.

Thursday, February 24, 2011

My First Attempt At Fabric Painting

My younger sister gifted me an embossed fabric painting kit titled "Radha and Krishna on a Swing" few months ago. The kit contained an embossed picture on a black color felt fabric, brush for painting, and glitter fabric paints. It was very easy to do. I finished it within one hour. However, it took almost a day for the fabric paint to dry out completely.


Although I was happy with the final outcome, I felt that the facial features were not quite expressive (especially Radha's). However, I was not able to redraw them because the drawing was strongly imprinted.

Wednesday, February 23, 2011

Satin-Stitch Flowers and Leaves


I embroidered this tiny bunch of flowers on a baby dress I sewed for my daughter. I satin stitched the flowers and the leaves with one strand of thread. The center of the flowers is done with French knots (I accept that my French knots are very bad). For stems, as usual, stem stitch.


If you want to see the dress with this embroidery, please visit my sewing blog: Frills and Flares.

Tuesday, February 22, 2011

Decorative Pattern on Doily---Progress So Far


Hi everyone,

Sorry that I could not post the fabric rose tutorial as promised. I was busy looking after my mom-in-law who was unwell. She is fine now.

I have started a new sewing blog "Frills and Flares." There you will see all my sewing creations and sewing tutorials. I will post the fabric rose tutorial in my sewing blog this week..

This is my progress so far of the decorative flower pattern on the doily.

 
I have filled the orange color inner petal (marked by the arrow) with split stitch instead of chain stitch. It takes a long time to fill an area with split stitch than with chain stitch. What do you think?

Please feel free to post your opinions.

Monday, February 7, 2011

Flounce Collar Dress--Completed!

I finished the flounce collar dress, and here are the images:


I made a new fabric rose and attached it to the waistband.

 Look out for the step-by-step fabric rose tutorial tomorrow.

Wednesday, February 2, 2011

I Am Making A Dress

Today I am not going to write about embroidery. This post is about my sewing adventures. I am making a dress for my little one.

This is the pattern I created.

Here are the details of the design. I have used flounce at the hemline of the dress as well as on the neck portion. Also, I have done rolled hem (by hand) for the edges of the flounce.

I first thought of using a store-bought fabric flower for the dress. Later I changed my mind and wished to create a flower on my own. I made two different fabric flowers.


After completing the flowers I realized that I made the first flower too small, so I combined the two flowers into one like this:


This is the progress so far:


I still feel the flower should have been a little bigger. I am thinking of making a bigger flower to replace this.

Do you want me to post a step-by-step tutorial on how to make these fabric flowers and how to sew rolled hem by hand? Please feel free to comment if you are interested. I will post the tutorials.

Tuesday, February 1, 2011

Book Review---The Embroidery of Roses


If you are the one who loves to embroider your home, then you will surely like the book "The Embroidery of Roses" published by Ondori publishers.

The cover of the book itself looks lovely.


The book is divided into four sections: Roses in the World, Roses-Roses: Classic Roses, Roses-Roses: Surrounded by Sweet Roses, Roses in Lettering.


There are 143 pages in the book. Pages 1-56 contain the color images of the embroidered pieces, and Pages 57-143 contain the patterns with clear instructions on the choice of fabric, thread colors, and stitches to be used. There are almost 62 embroidery and cross-stitch patterns that you can use on your tablecloths, runners, pillows, center pieces, doilies, lampshades, album covers, jewelry boxes, bags, bedspreads, piano covers, tray mats, luncheon mats, rugs, and even slippers.


Below is the decorative pattern I am embroidering on the doily.


For those who love patterns with roses, this book would definitely be a visual treat. Of course, most Japanese craft books are visually appealing. Though the theme of this book is "roses," there are different types of rose patterns. No pattern looks the same. There are applique, cutwork, and white work projects too.

I liked one particular pattern which is embroidered in black on a white fabric and mounted on a frame. There is also a lovely rose bookmark done in soft shading.

I am not sure whether you can get this book from Amazon.com. However, if you google for Ondori, you may find some Web sites that sell this book. 

You may also find this book at this link on Amazon.uk

Kawaii Shop Modes4u.com